Starting in mid-March, Farmer Rob is doing one of three things.
1. Checking the weather forecast on his phone
2. Standing at the window and scanning the sky to make sure the forecast is accurate OR
3. He’s pacing the room and impatiently waiting until he can check the forecast again.
And when the clouds finally part and temperatures rise, it’s go time.
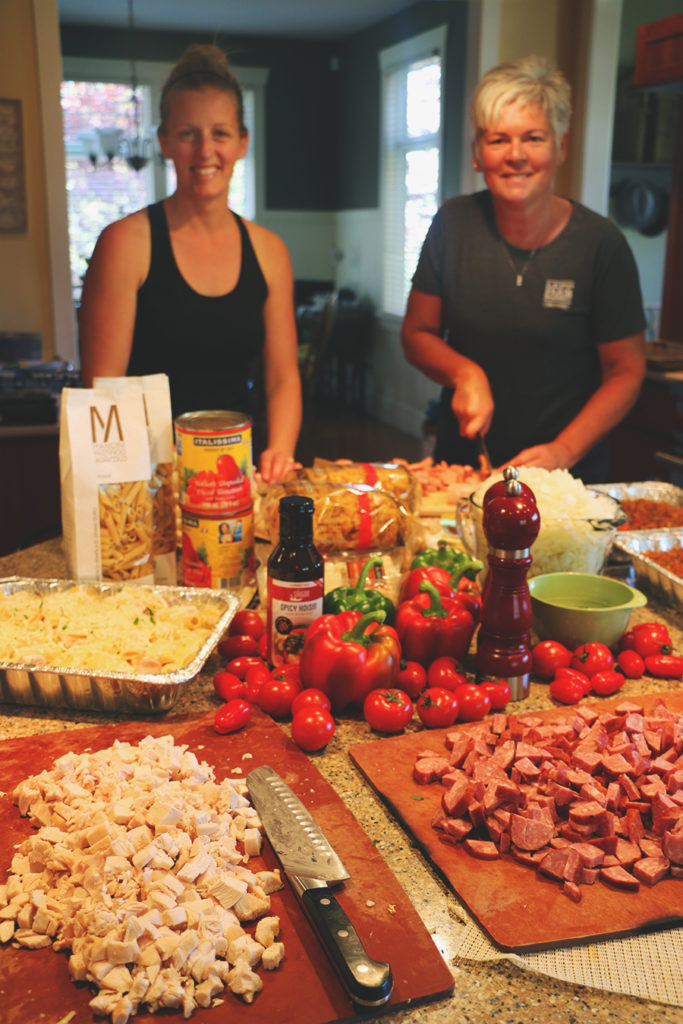
Fire up the tractor in April, and don’t turn it off until October. But just to be clear, he loves it, as does our growing farm team of son Mike and Dan Boon. Dan’s wife Angela has taught a number of cooking classes at the market and is the queen of meal prep, so this year we decided to get together and do a cook day in prep for all those summer evenings when dinner is delivered to the field and eaten on the run. The idea came from the cook-days I’ve been doing with my daughters in preparation for new baby arrivals. It started as my gift to them, a dozen or so freezer meals ready in their freezer for when they brought the new baby home and has grown to a tradition we do all together for each new baby.
Our starting point is our “Freezer Meals” Pinterest board, and most of the recipes have been tested and approved by our whole family. They are all “casserole-y” type dishes but if you add a great summer salad or a fresh, local veggie platter, all you’ll feel is pride that you’re so well organized!
My advice is that if you’re already going to all this work, then at least double each recipe. I find that you can usually stretch each doubled recipe into 3 freezer meals, or leave it at two if you love leftovers.
So whether you’re cooking for a new baby, you just want to get a jump start on summer meals, or you want to share the experience with some friends, here are a few pointers.
Not essential but adds to the atmosphere: Put on some energetic music, make yourself an iced latte (or your beverage of choice, no judgment here) and be prepared for a messy kitchen.
PREPARATION:
I can’t stress enough how important the prep part is.
- Read each recipe carefully, and make a master shopping list. Check ALL your supplies at home, including spices, as you don’t want to be in the middle of it and realize you’re out of cumin. I usually divide my list into four sections: meat, produce, grocery and dairy so I can tell at a glance whether I’ve missed something.
- Make room in your freezer, and try and make as many flat surfaces as possible to stack the cooked dishes. As most of the recipes have some sort of sauce, you don’t want the dish tipping sideways and dripping out as it freezes.
- You’re going to need a number of measuring cups/spoons and big mixing bowls. Borrow from a friend, or invest in some. The local restaurant supply store is a great resource.
- Invest in a lot of tin foil disposable containers of all shapes and sizes so you have options, and a roll of BBQ tin foil. (heavy duty and larger than a regular roll) Hello Superstore. Discard the plastic lids that come with them and use the foil to seal the containers.
ON COOK DAY:
- Your kitchen is going to get very messy so start with an empty dishwasher, a sink full of clean, soapy water, and a few containers for garbage on your counter. (compost, recycle and garbage) I always have a container next to me for discarding food scraps as I go (thank you Rachel Ray for that tip!) Clear off the counter space, you’re going to need every inch.
- Do any baking before you start with meat to avoid the risk of cross-contamination.
- Most of the recipes generally have the same steps, so do as much at one time as you can. Chopping veggies can all be done the day before, just seal the veggies in ziplock bags (especially the onions, it’s amazing how much they can smell up your fridge!)
- Chop all the veggies first and put them in bowls, and then measure as needed. One regular onion equals 1 heaping cup of chopped. One bell pepper equals 1 ¼ cups chopped. I’ve tried using a food processor but it chops things into unequal sizes and often you’re left with almost-pureed veggies as you’re trying to get the bigger chunks chopped. Put on the onion goggles and a super-sharp knife and just go for it.
- Cook all the meat at one time. Brown the ground beef for all the recipes at once. I had a lightbulb moment as I was working with Angela. Instead of chopping the chicken breast and frying it in pieces, she bakes them whole, seasoning as needed, and then chops them after they’re cooked. 350 degrees for about 20 minutes on a parchment paper lined sheet.
- Grate all the cheeses, if not purchasing pre-shredded.
- Don’t overfill the containers, as they’ll expand during freezing and then leak over the sides as it freezes if it’s too full. Leave just a little room in the dish for expansion.
- If the dish is quite full and you’re putting a topping like grated cheese on it, spray the foil with non-stick spray beforehand so you don’t lose the topping when you take the foil off.
- Wrap things individually, like muffins and breakfast burritos. That way you can just take out one at a time for a quick grab-and-go snack.
- Label EVERYTHING that goes in the freezer.
Date and name of the dish.
Cooking time and temperature.
Do you need to thaw it first?
Cook it covered or uncovered?
Do you need to add anything, like grated cheese, before baking?
Any serving suggestions? Is there a sauce that’s supposed to go with a dish?
If you’re giving the meals away, remember to include possible allergens. As the foil containers are thin and flimsy, and can sometimes burn on the bottom, here’s a great tip to include on the label: “Place tin foil dish on a cookie sheet to bake” This makes it much easier to pull it out of the oven. - Place finished dishes on cookie sheets to freeze, and try and keep them as level as possible. Try not to stack them on top of each other, especially if the dishes are covered with a topping like grated cheese, as the topping can then stick to the foil. If necessary, place one layer in your freezer, put the rest in the fridge overnight and then the next morning you can stack on top of the frozen ones.
So by now, I’m sure you’re wondering which recipes we’ve tackled most recently on our cook days! Here are some of my favorites that I highly recommend.
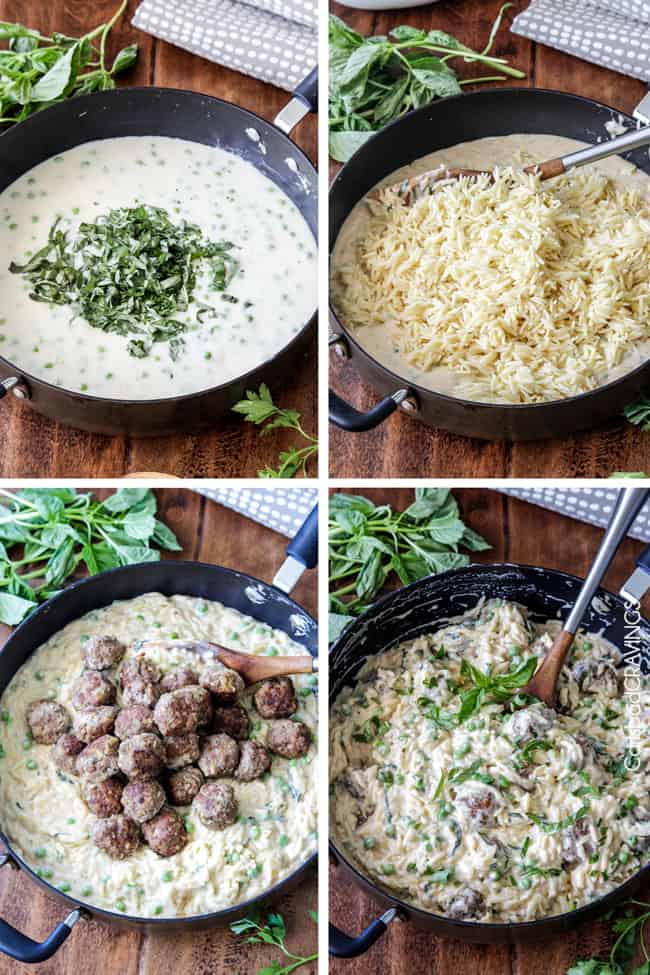
Parmesan Meatballs & Orzo in Mozzarella Basil Cream Sauce: The number one, we-can’t-do-it-without-this recipe!
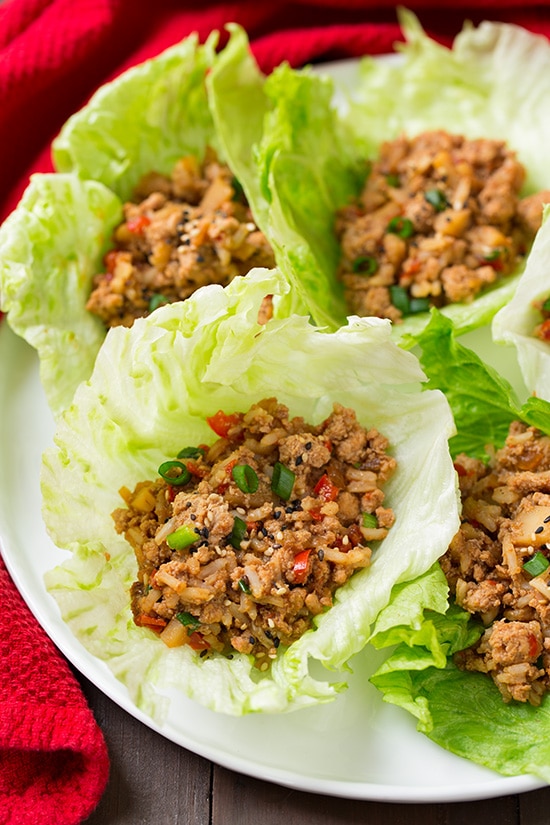
Crockpot Lettuce Wraps: There’s no need to prepare the lettuce, of course. This is an example of writing extras on the label, as you want to add bean sprouts and cilantro just before serving, and you’ll need to purchase lettuce closer to serving time.
Slow Cooker Asian Chicken Sauce: We cook the ground chicken ahead of time in a skillet, rather than in a microwave (Yuck, sorry!)
Pizza Pasta: Thank you Chef Michael Smith, another family favorite.
Old Time Chicken Pot Pie: I can’t tell you how many times I’ve made this over the years and surprised many moms that their pea-hating children would happily eat this creamy dish

Mexican Turkey Chili: I usually triple or quadruple this recipe as it’s always so popular. If I quadruple the recipe, I’ll usually only triple the saucy ingredients like the tomato sauce and salsa.
Char’s Summertime Joes: Needs no introduction

And for baking:

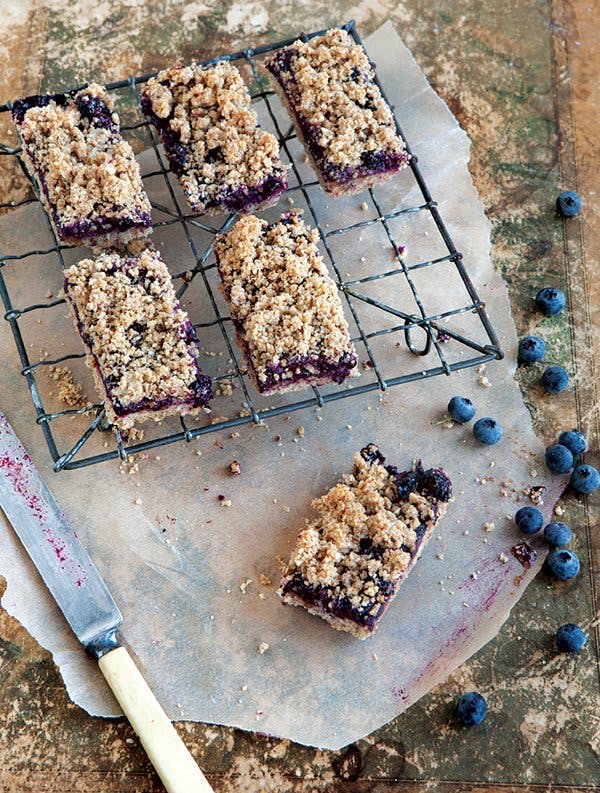
Peanut Butter & Chocolate Energy Bars: All of these are great for new moms, individually wrapped so they can snack on something nutritious with one hand while they’re nursing!