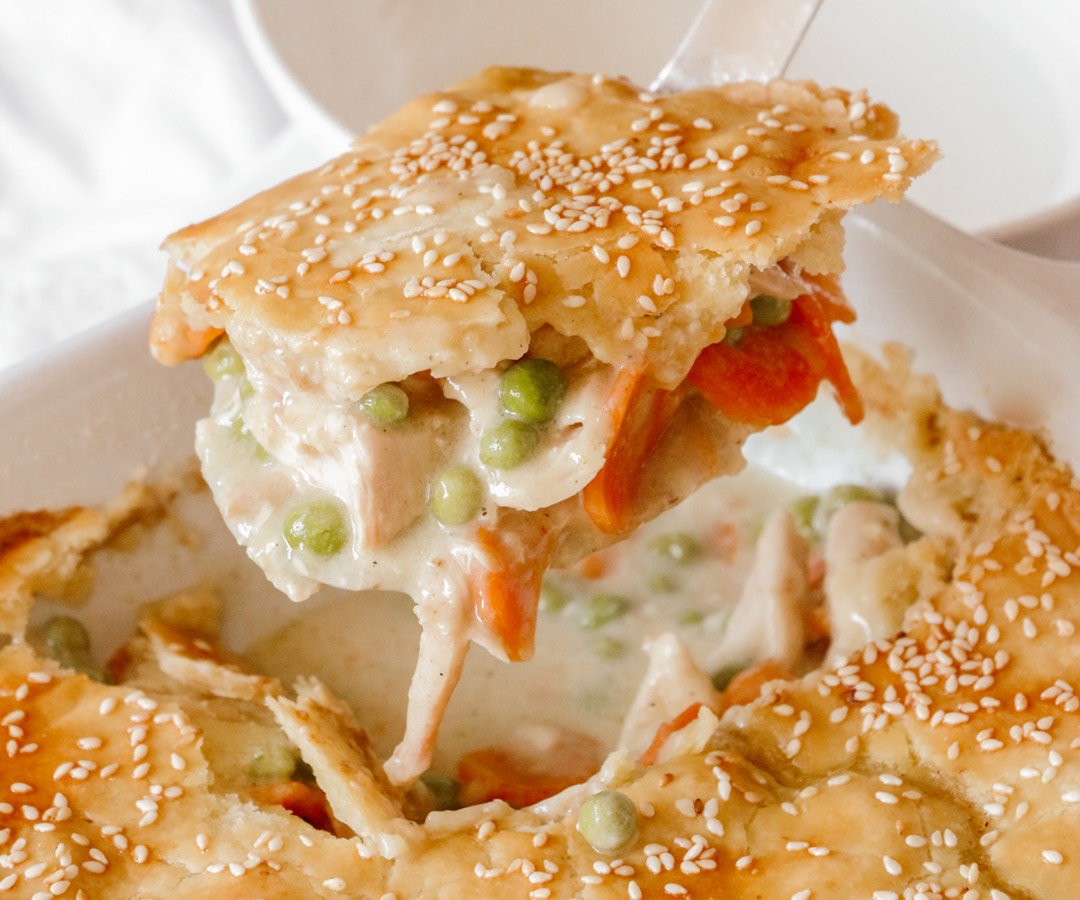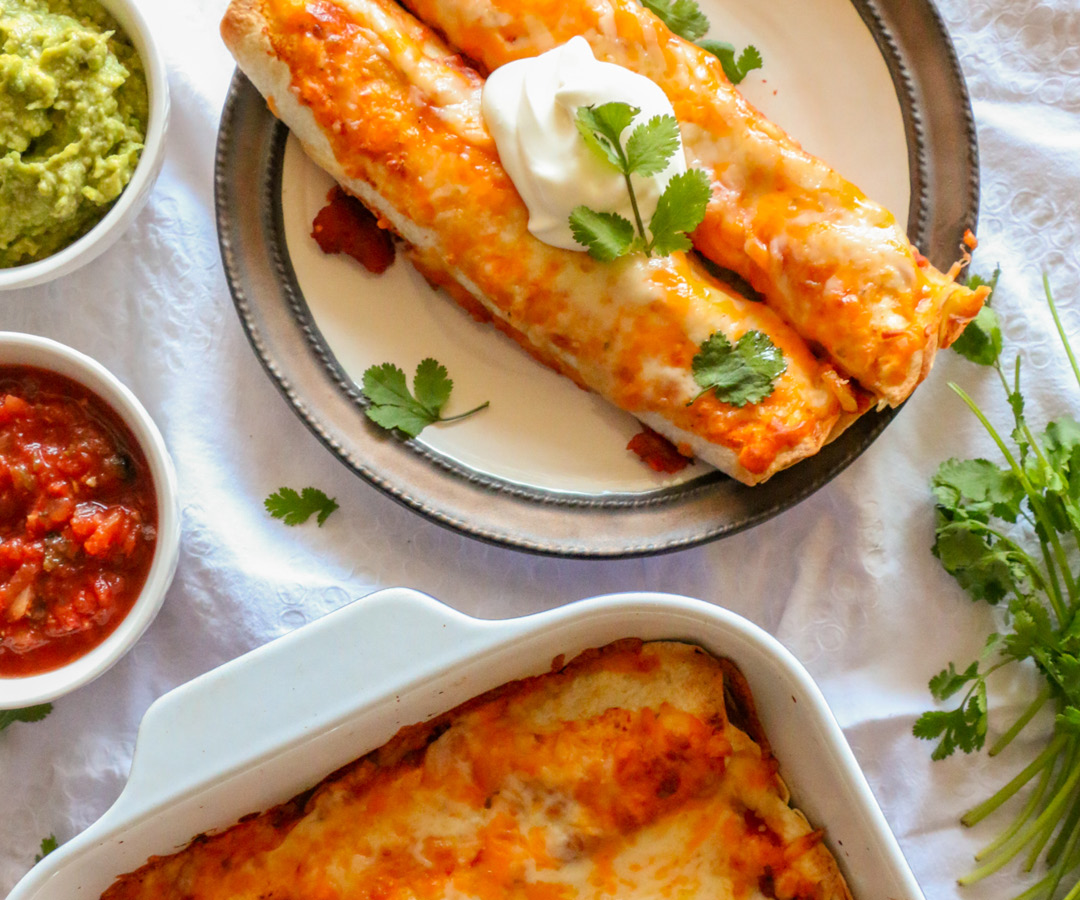
You just can’t go wrong with a creamy casserole, whether for your own family or to bring to a friend who needs some hearty comfort food.
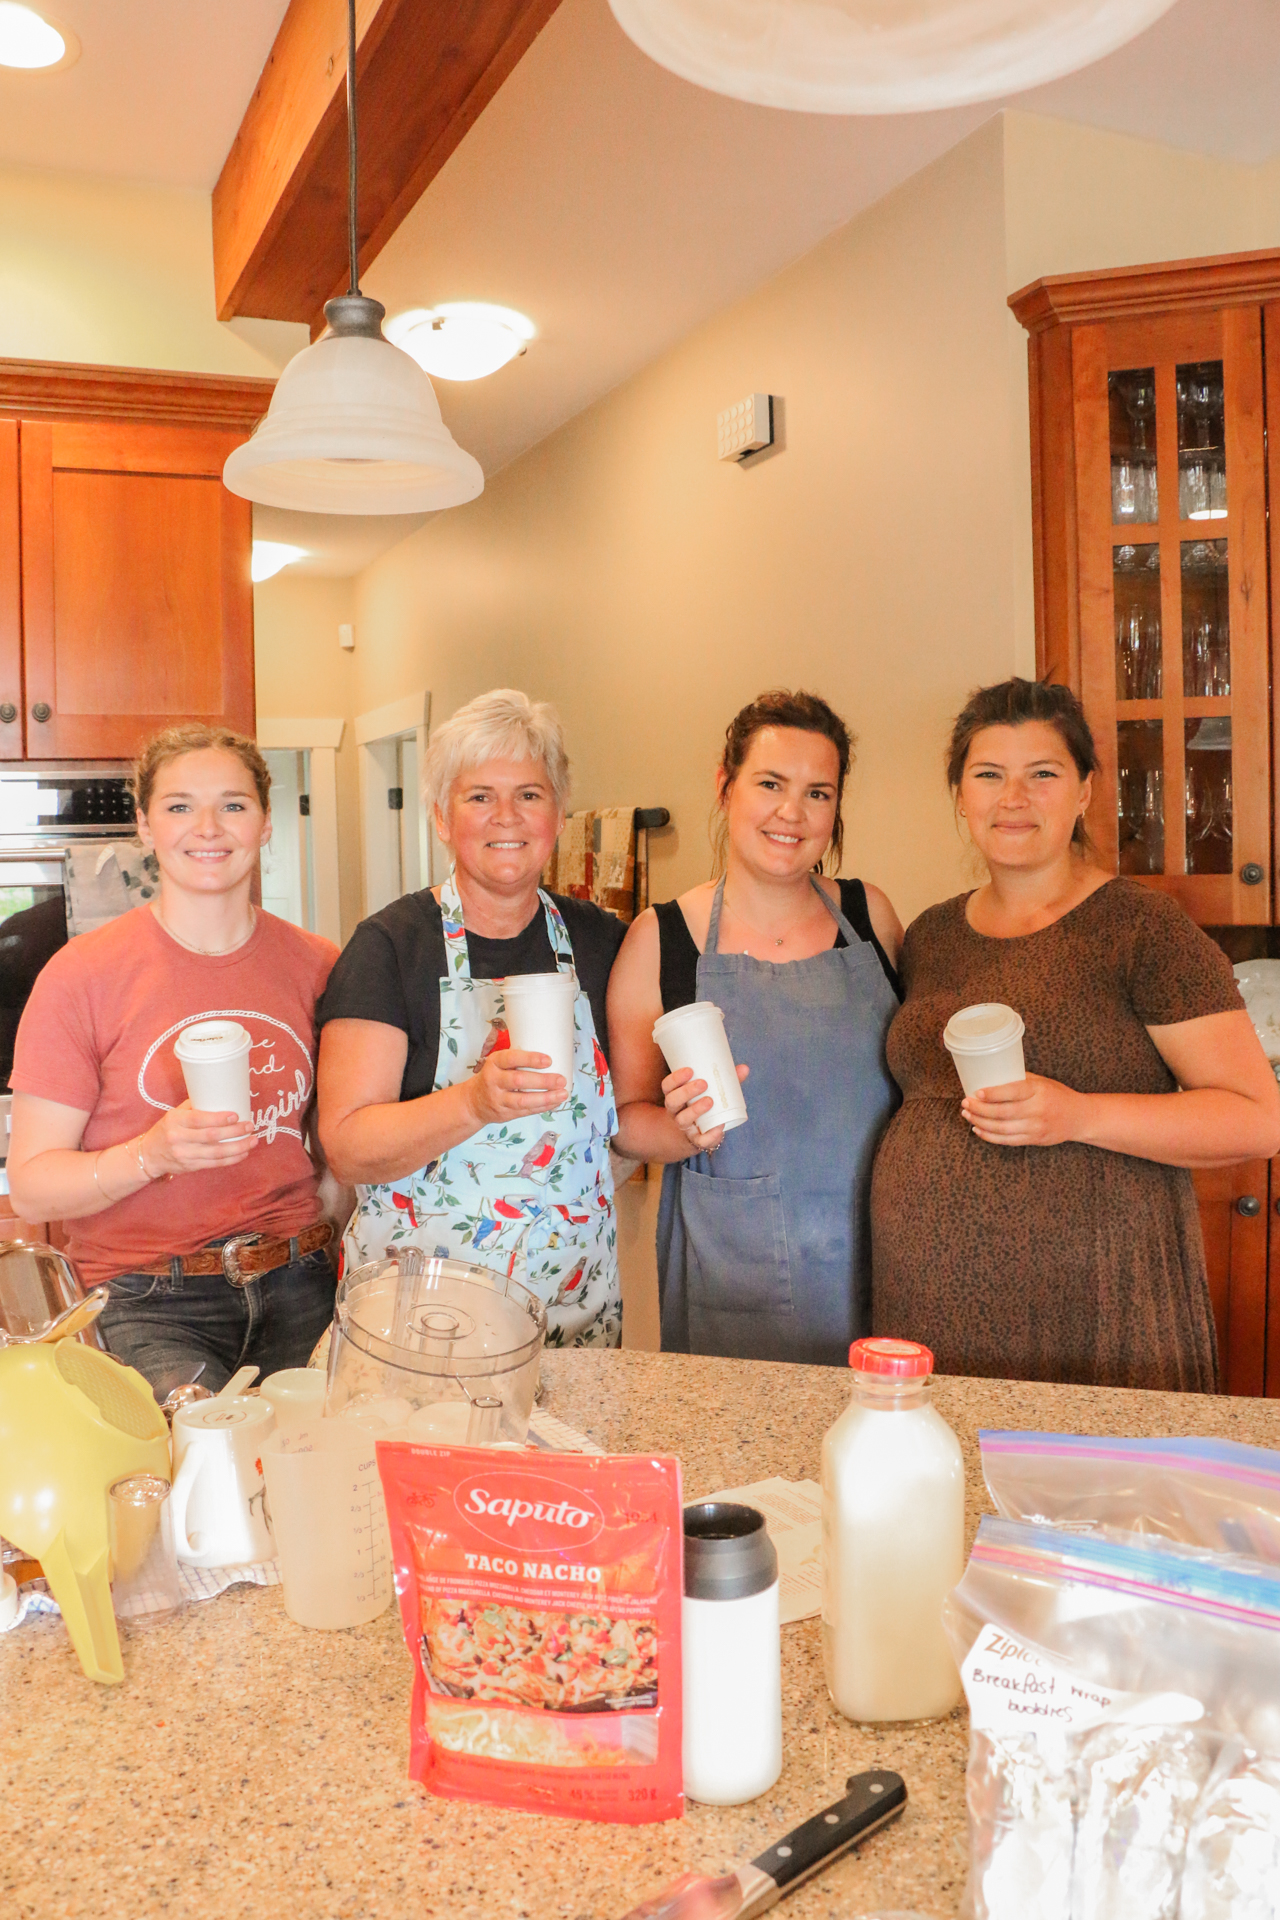
What began as a one-time event with our first grandchild’s arrival exploded into a tradition of 11 cook-days in 7 years, as our grandchildren arrived quickly. With our oldest daughter’s first pregnancy, I thought that she needed freezer meals more than another baby outfit, and I invited our two daughters-in-law to join us for our first “cook-day.” Everyone agreed this was the best gift ever, and 11 cook days later, we’ve narrowed it down to our favourite recipes through trial and error. They love the practice so much that we’re continuing it even if no more babies arrive, and they’ll just share the meals.
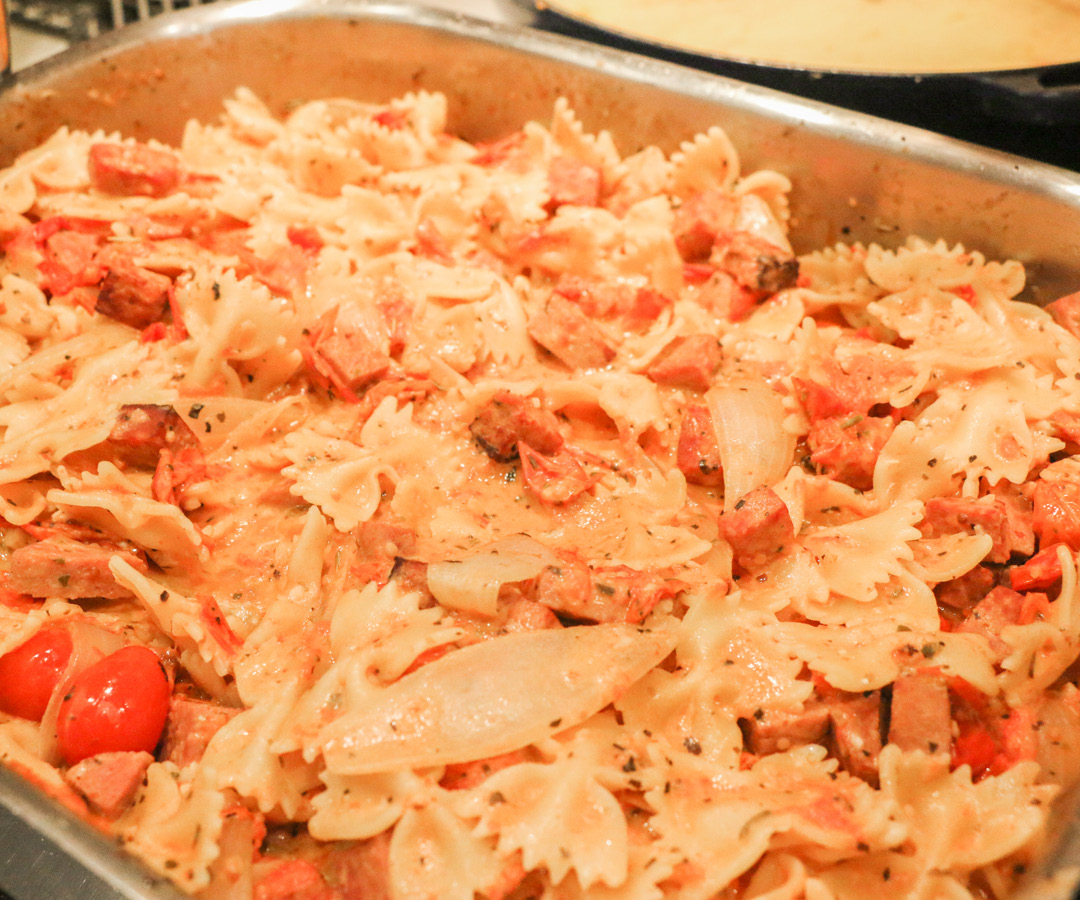
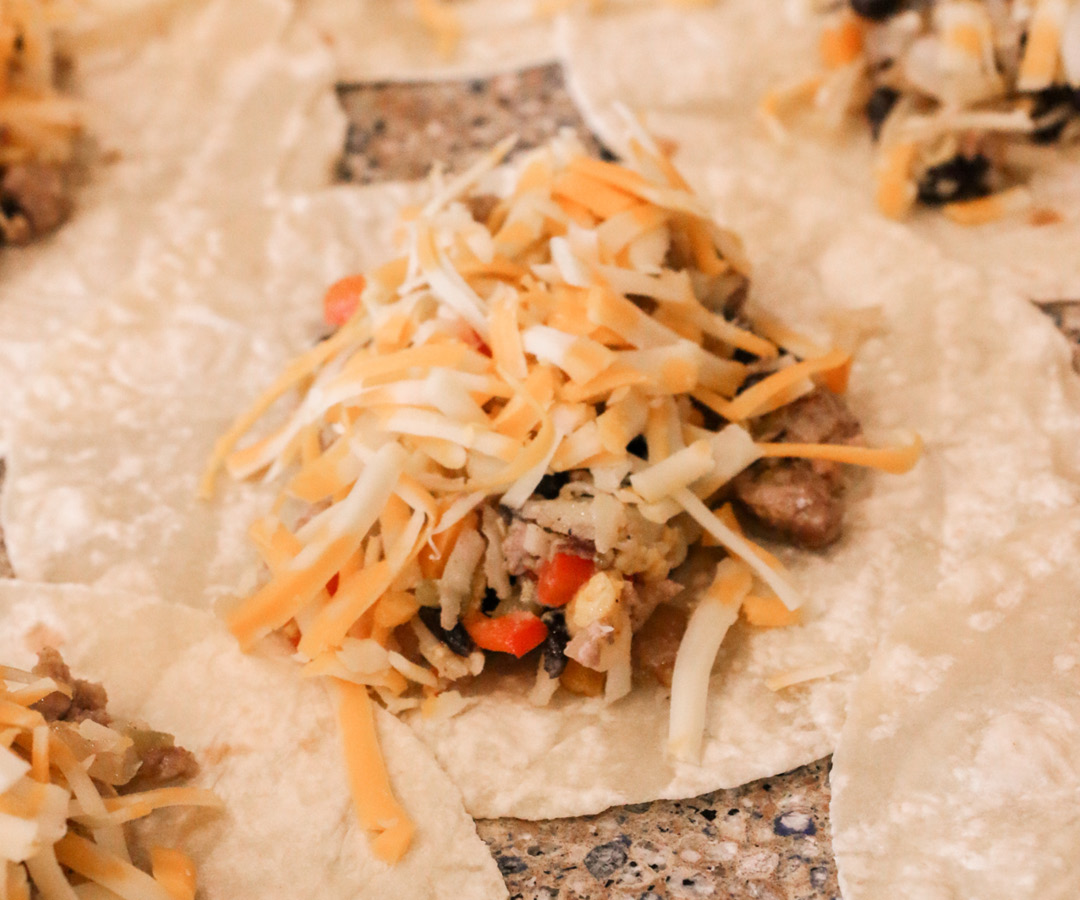
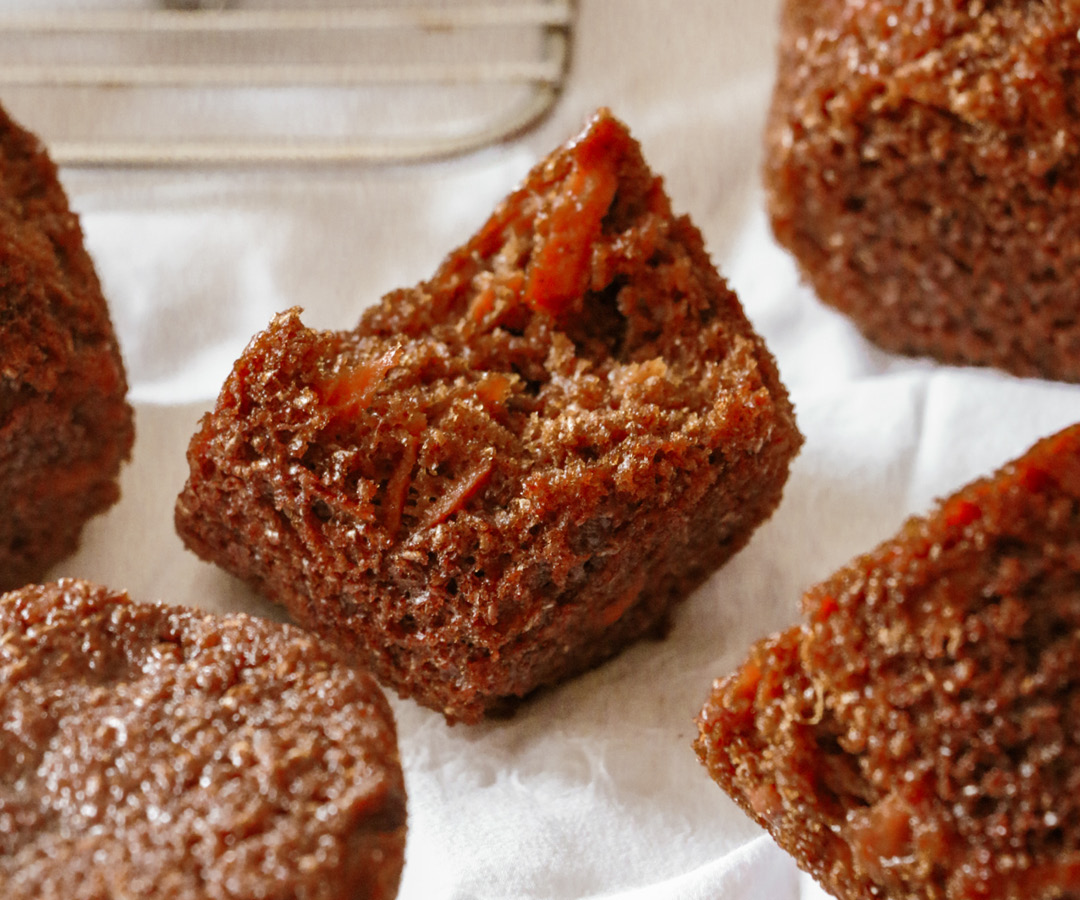
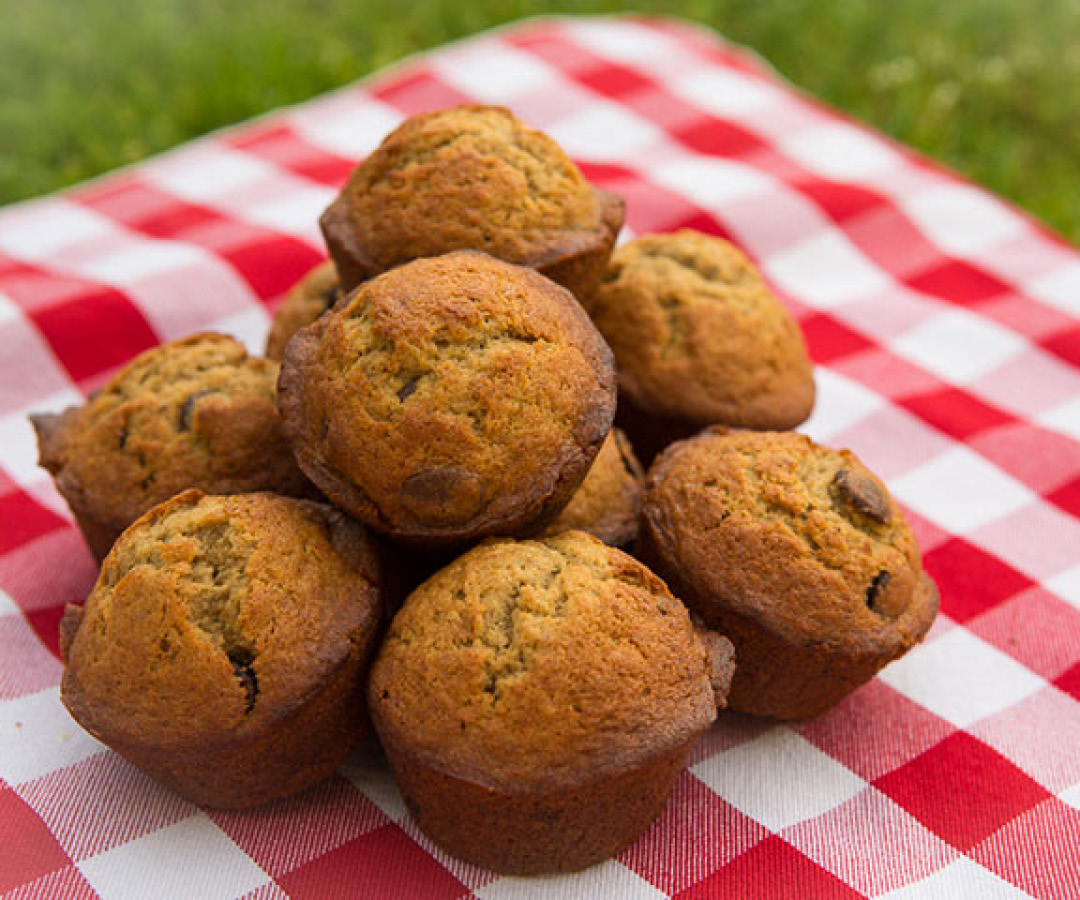
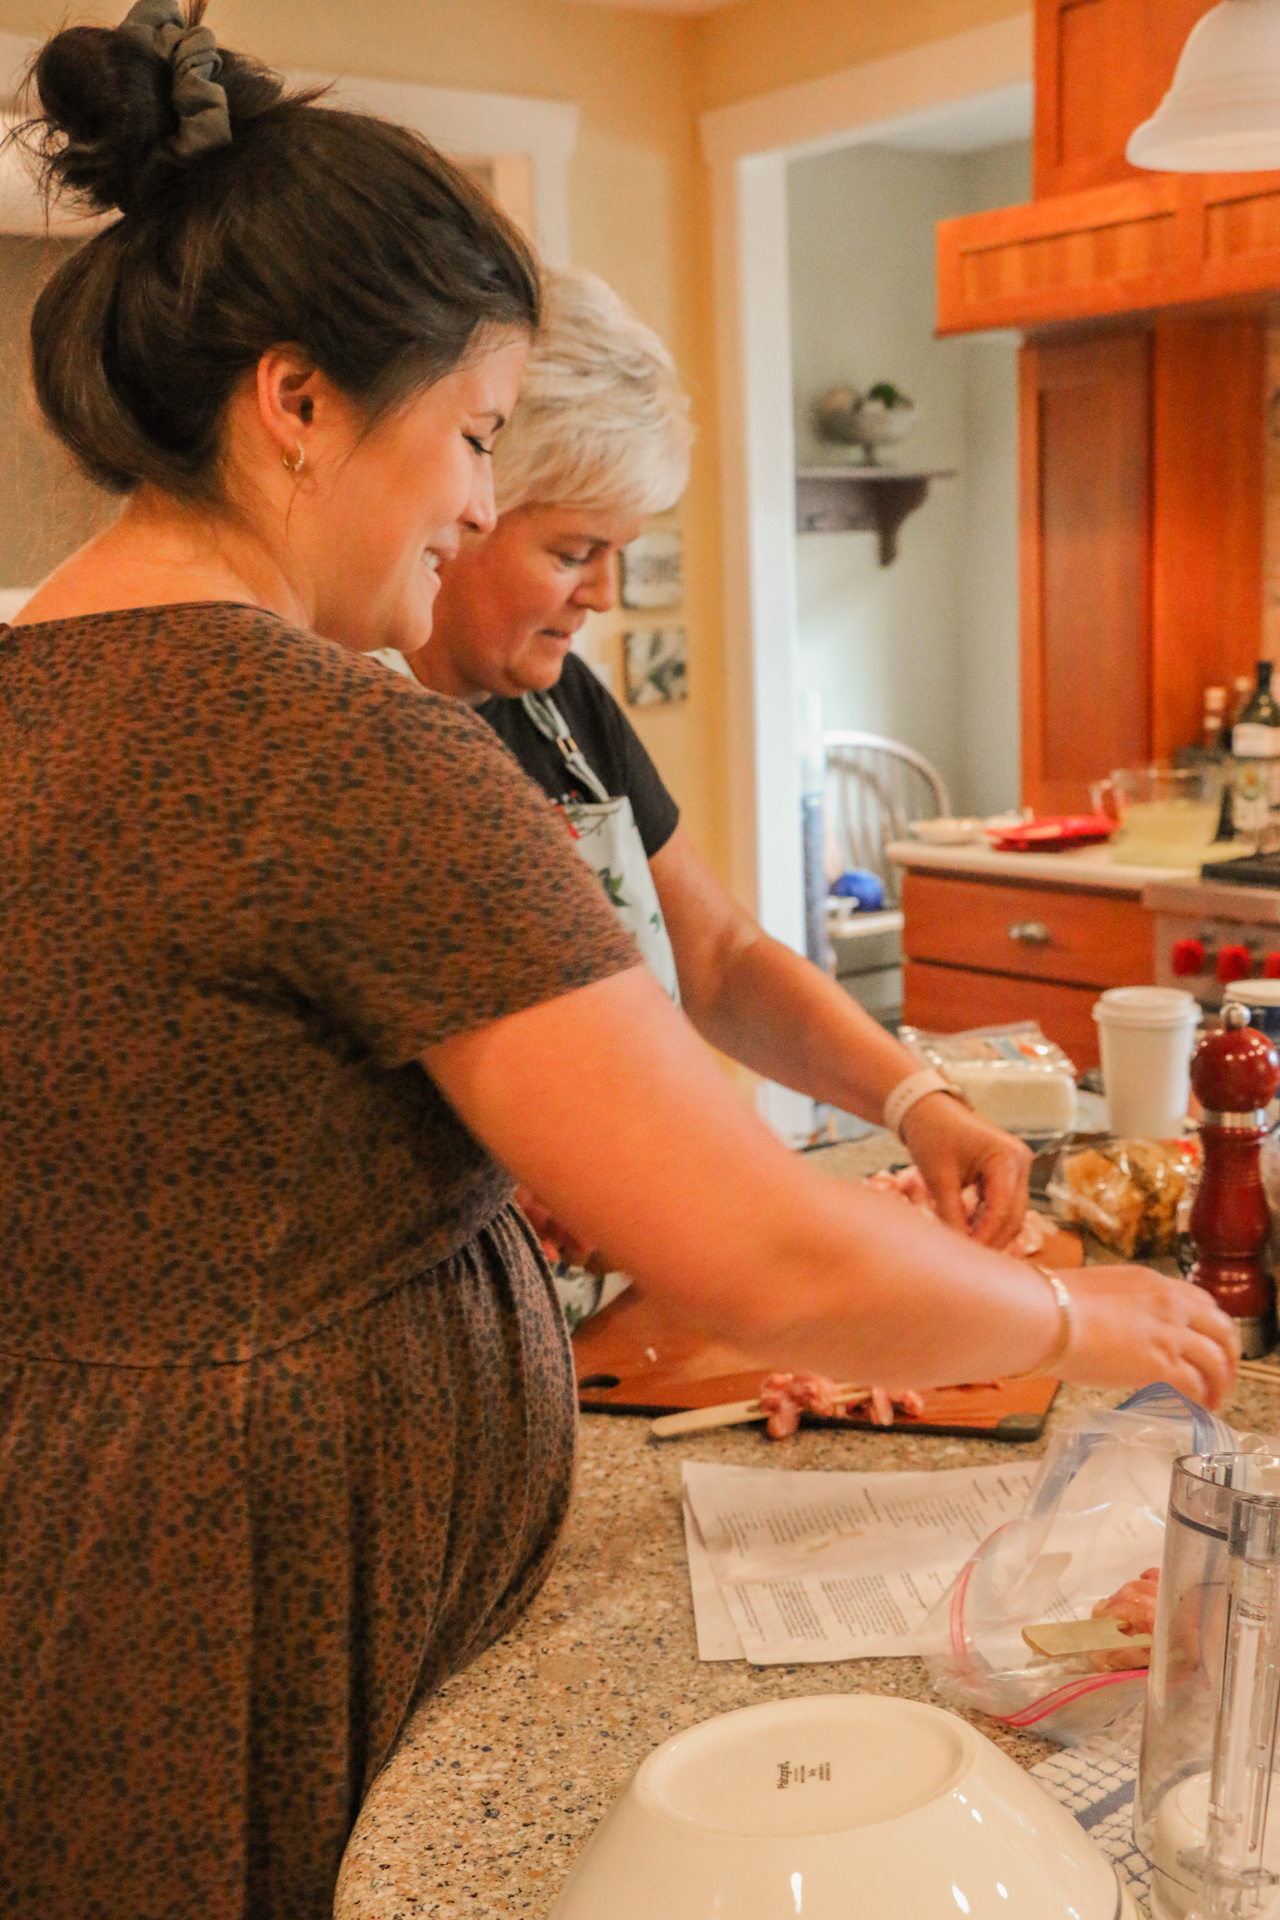
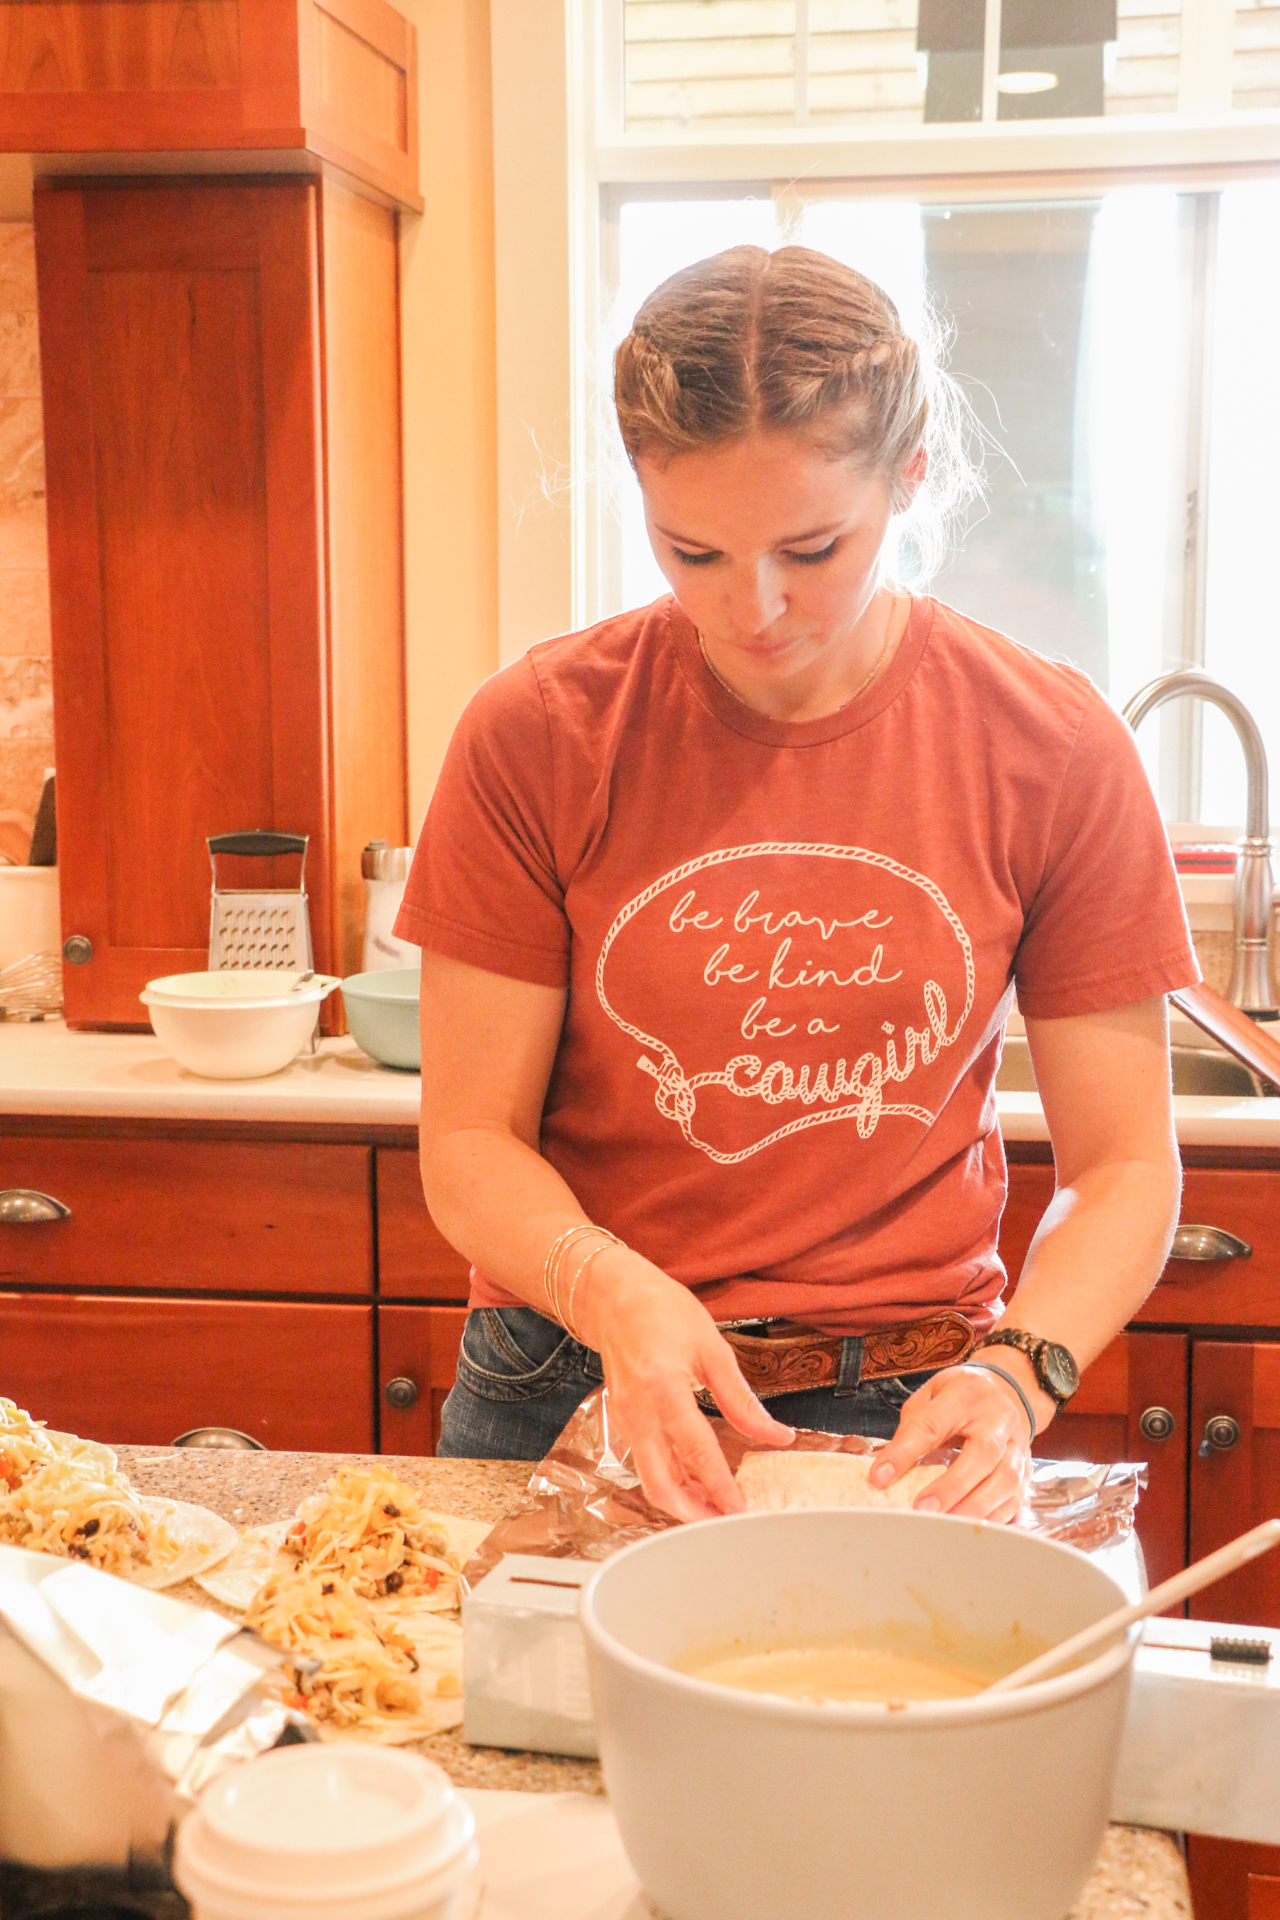
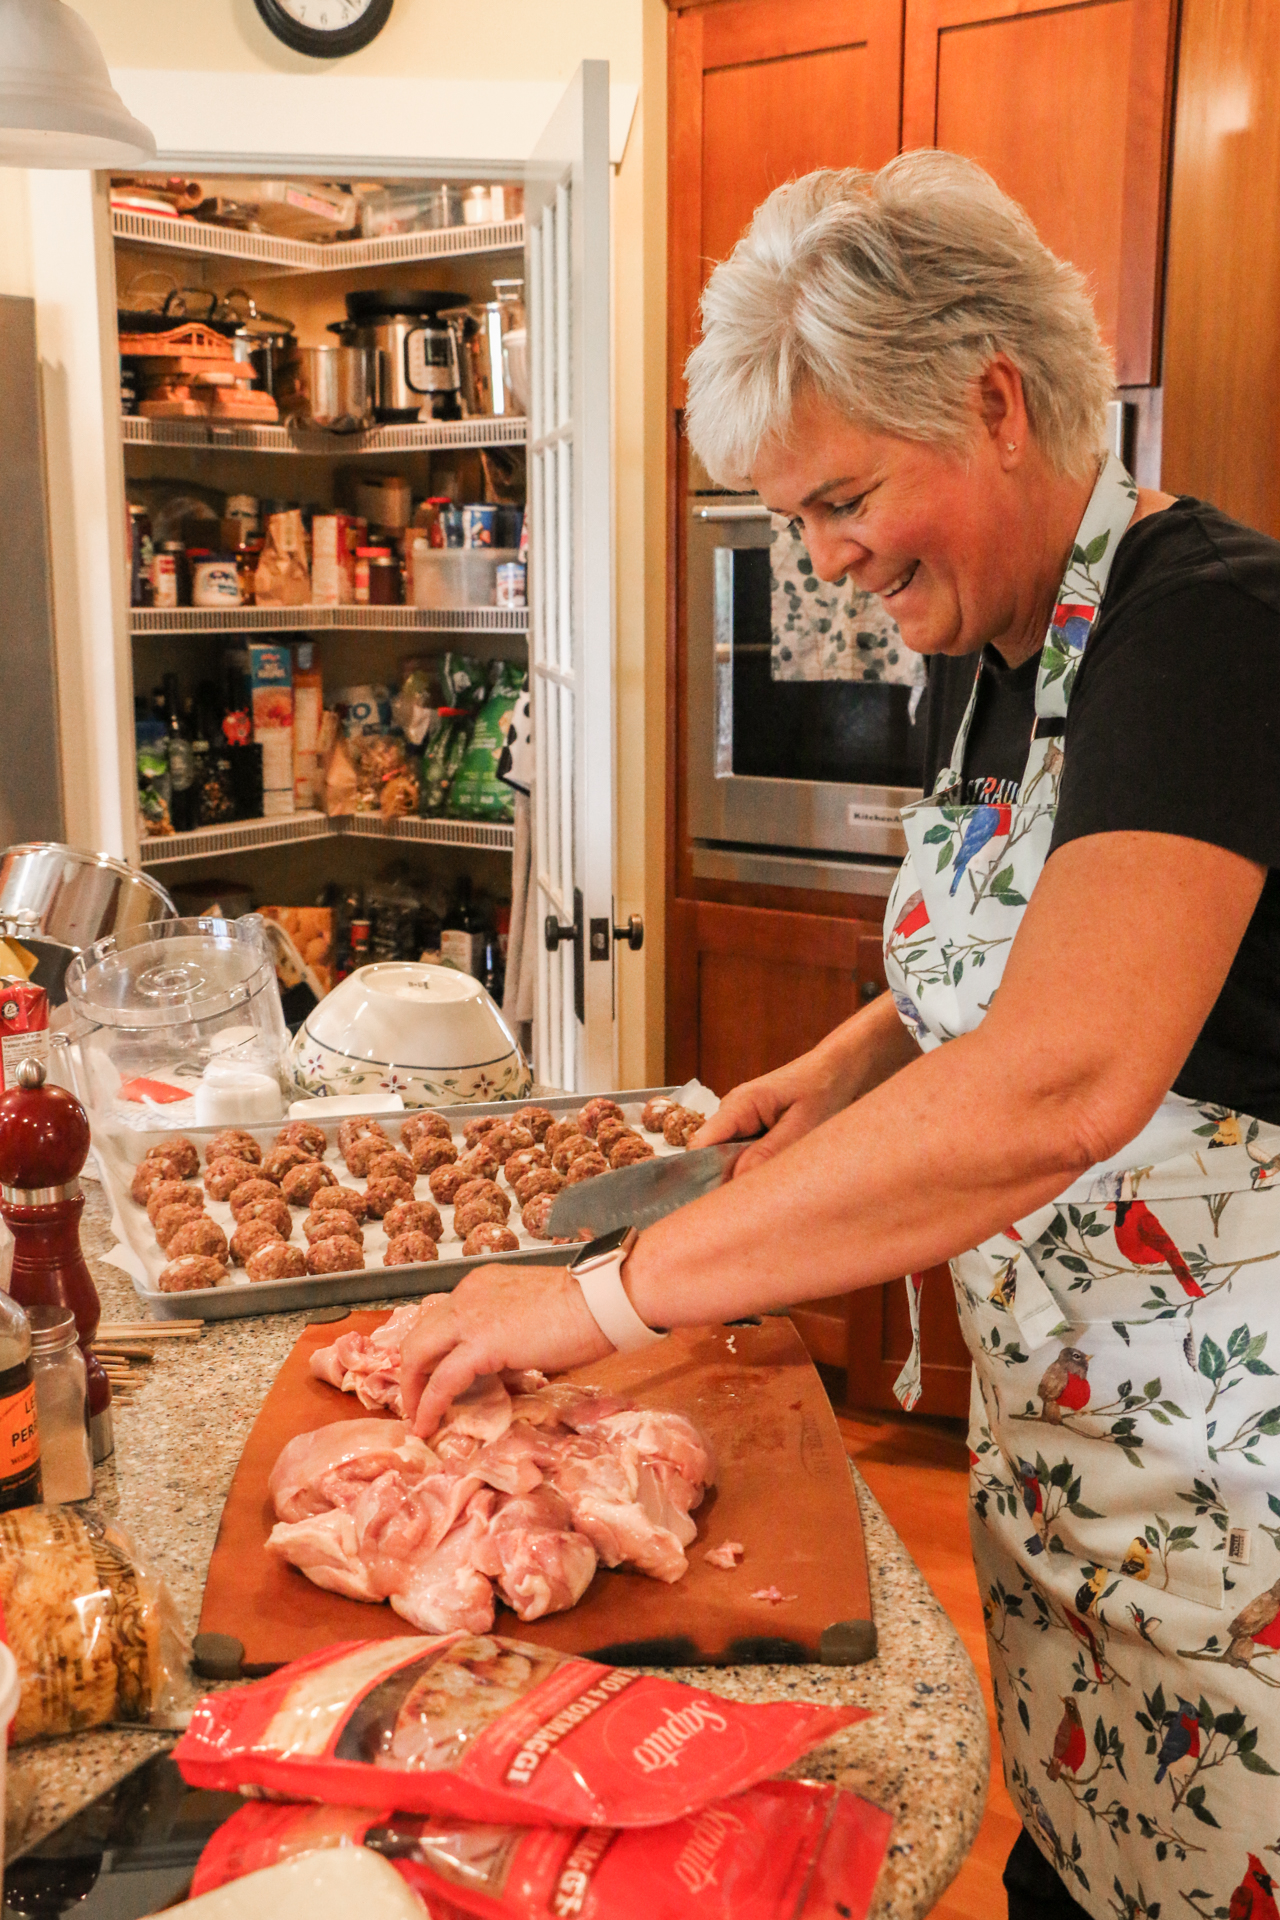
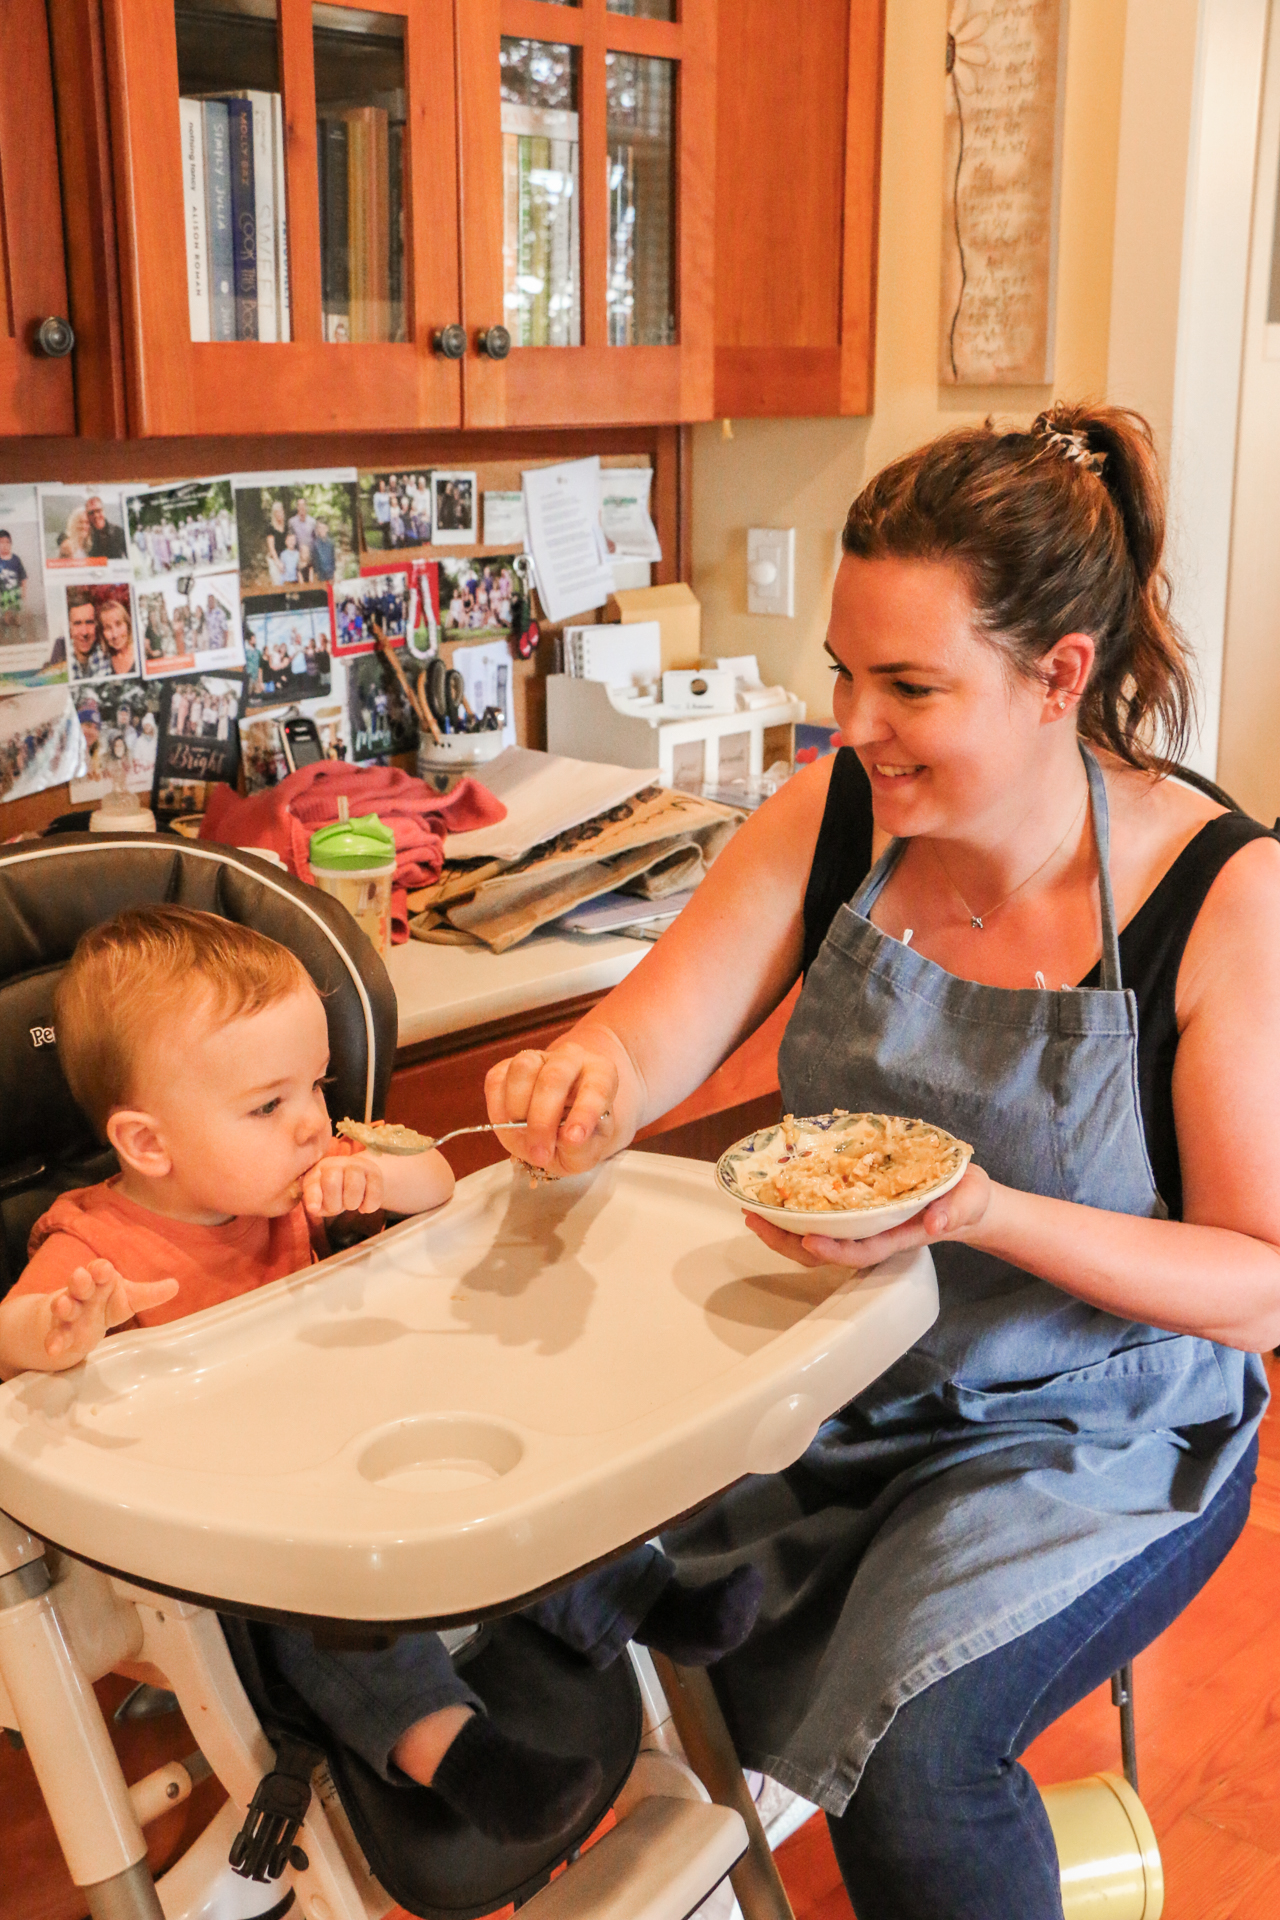
Imagine the chaos of five toddlers, four cooks and a heap of ingredients as we measure, chop, stir, rinse and repeat our way to a trunk full of meals. I prepare lunch ahead of time, someone brings fancy coffees, baby naps are coordinated to accommodate two at a time, and it’s go-time. By now, we all have our assigned recipes. Megan’s the baker, so she works on muffins and bars, Carrie knows Chef Michael’s pepperoni pizza casserole by memory, and no one can roll a breakfast burrito like Kacey.
Some tips from my daughters:
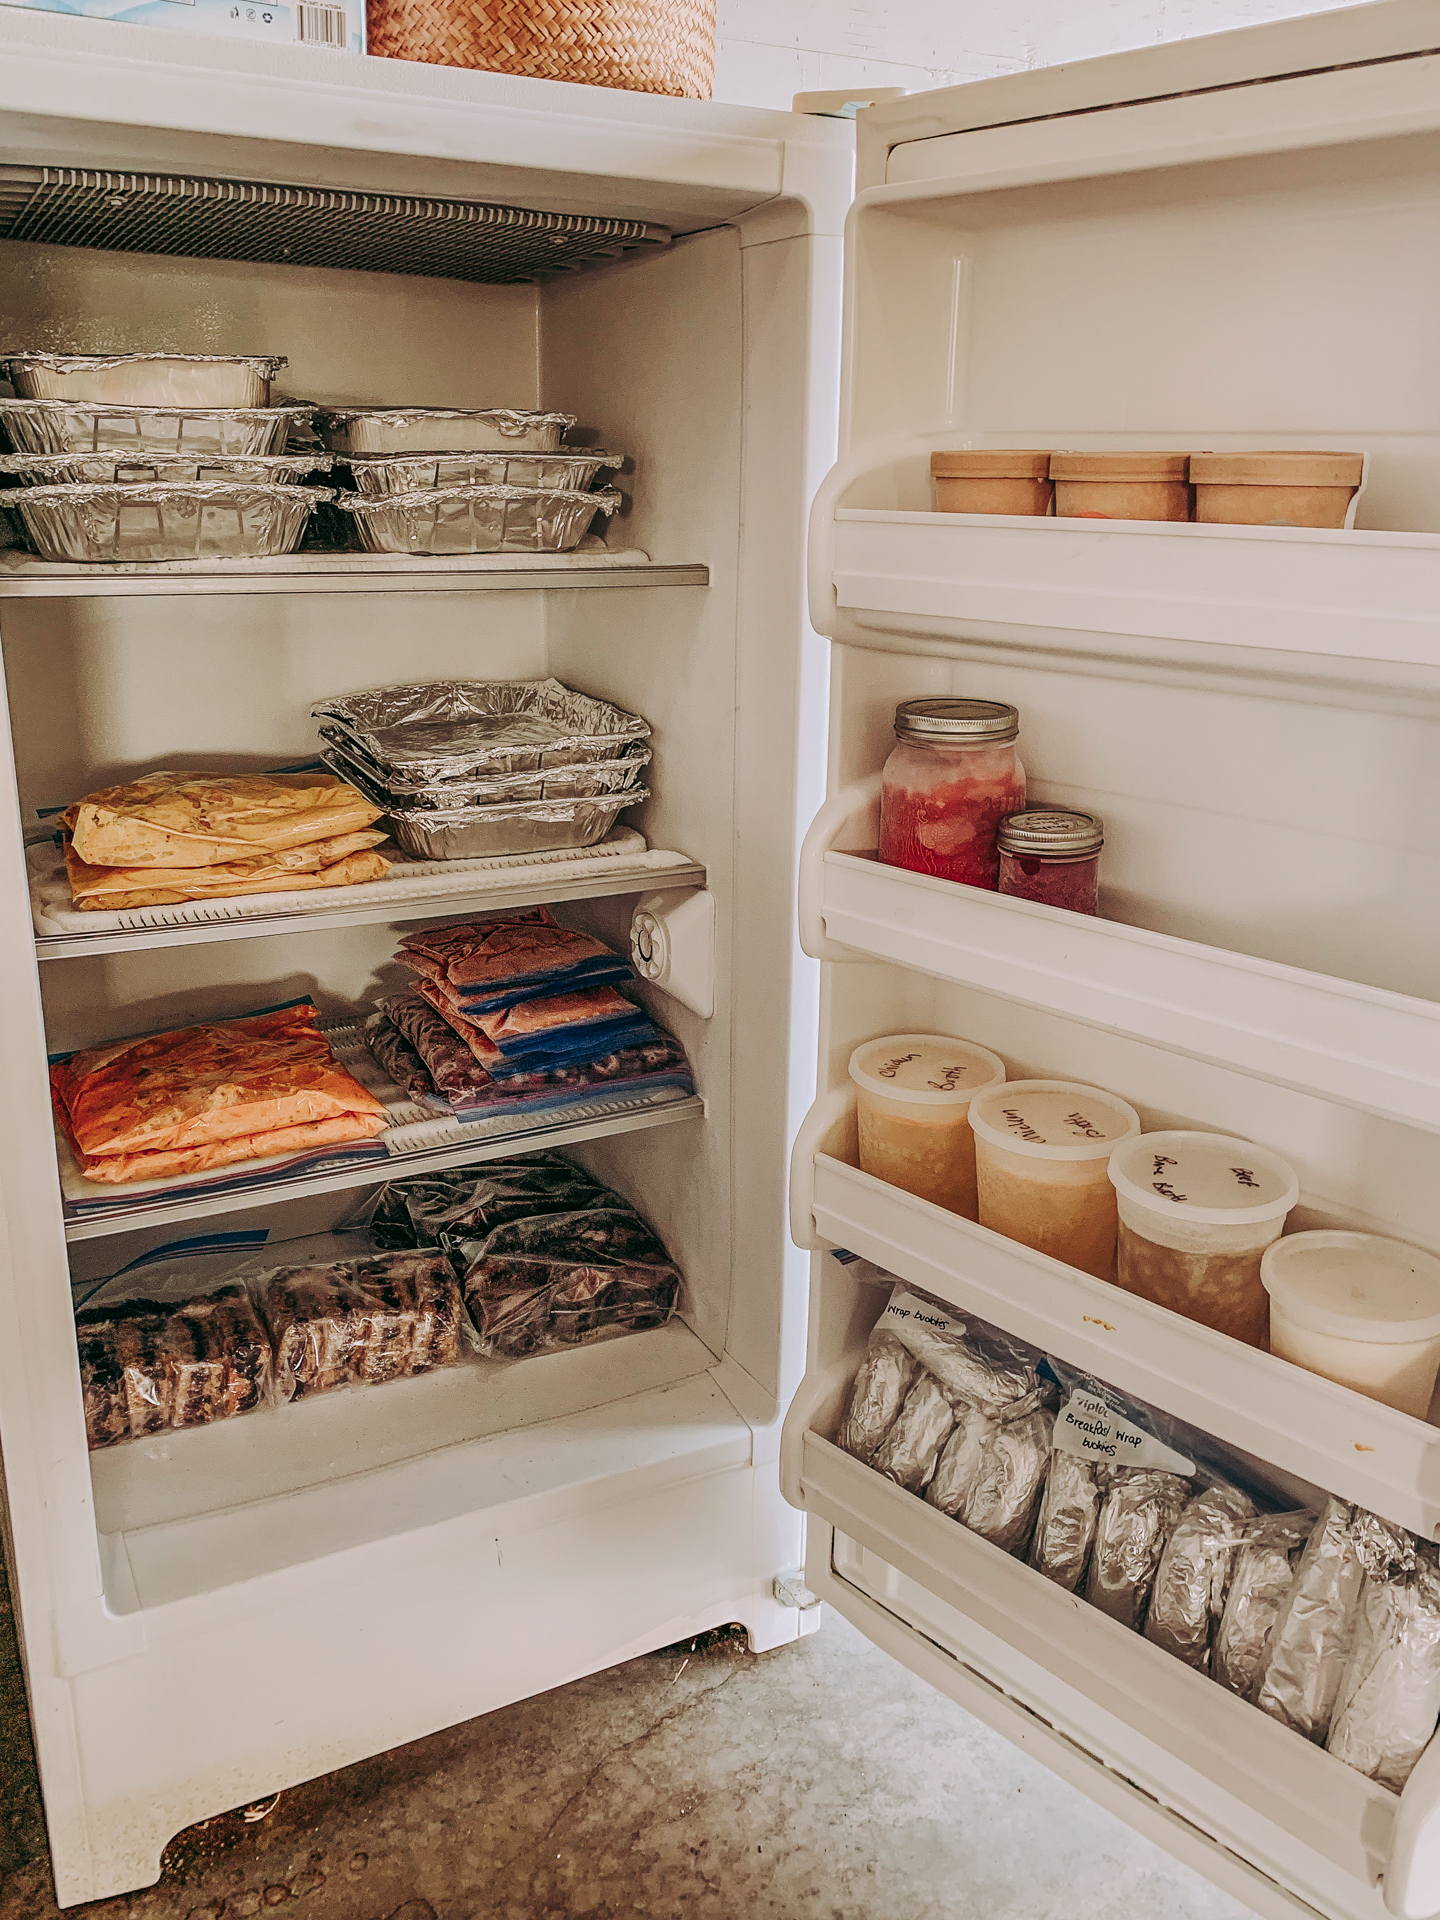
- If you’re having a C-section, homemade chicken bone broth is a soothing post-surgery drink and freezes well.
- It’s best to thaw the casseroles before baking, so take the casseroles out of the freezer early in the day. They can be reheated from frozen but use a lower heat and a longer cooking time. It’s best to place the casserole dish on a cookie sheet, so they reheat evenly.
- Include some frozen pizza dough and sauce in the freezer.
- Make sure to have a few pints of Banter ice cream on the top shelf!
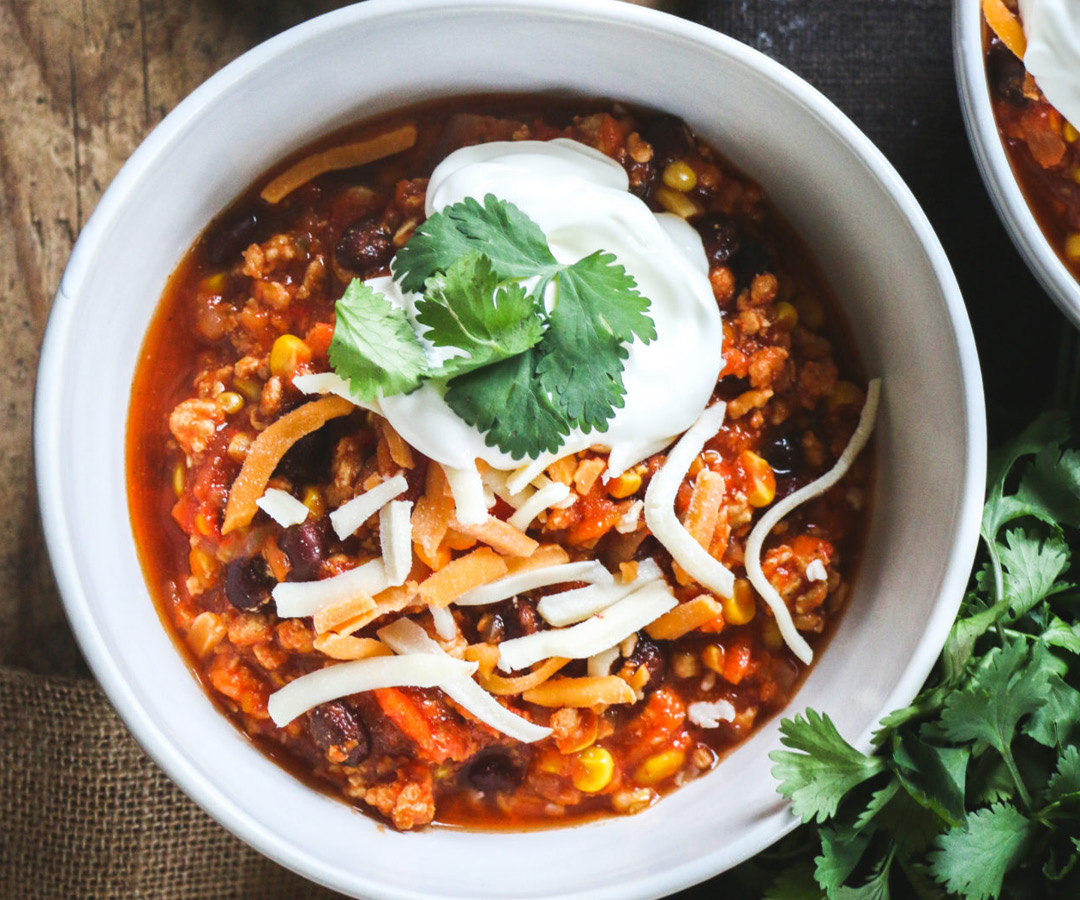
May the recipes inspire you to gift someone in need a meal or some baking, as nothing says love louder than a tinfoil casserole! We’ve even shared all of our preparation & cooking day tips to help the day go as smoothly as possible.